


October 2, 2026
How to Refinish Wood Stairs
- How Do You Assess a Staircase Before Refinishing?
- How Should You Prepare a Staircase for Refinishing and Repairs?
- How Do You Sand and Scrape a Staircase Without Damaging the Wood?
- How Do You Choose the Right Stain and Finish for Wood Stairs?
- How Does the Alternating Step Method Work for Stair Refinishing?
- How Should You Maintain Refinished Stairs and When Should You Hire a Professional?
Staircases are the architectural spine of a home, bridging living zones while taking more localized foot-strike punishment per square inch than any horizontal floor plane. Over years of traffic, treads cup slightly under repeated heel impacts, nosings round out from directional friction, and baluster junctions accumulate grime within their grain crevices. Refreshing these surfaces through a systematic staircase renovation restores structural beauty and preserves the historical integrity of your home’s vertical joinery.
Refinishing a staircase, however, is fundamentally distinct from sanding an open floor. You are dealing with tight ninety-degree junctions, bullnose contours, vertical risers, and structural balusters that cannot be leveled with a high-production 220-volt belt sander. Executing this restoration demands precise hand-tool craft, deliberate abrasive sequences, disciplined finish chemistry, and a strict timeline that maintains household mobility.
Understanding how to navigate this process ensures your finished timber withstands tens of thousands of ascending steps without chipping, flashing, or wearing through to raw grain.
Anatomy, Assessment, and Essential Tooling for Stair Restorations
Before applying an abrasive sheet or cracking an open can of solvent, you must understand the mechanical anatomy of your flight and evaluate the timber stock underneath decades of wax, varnish, or carpet adhesive.
Deconstructing the Structural Assembly
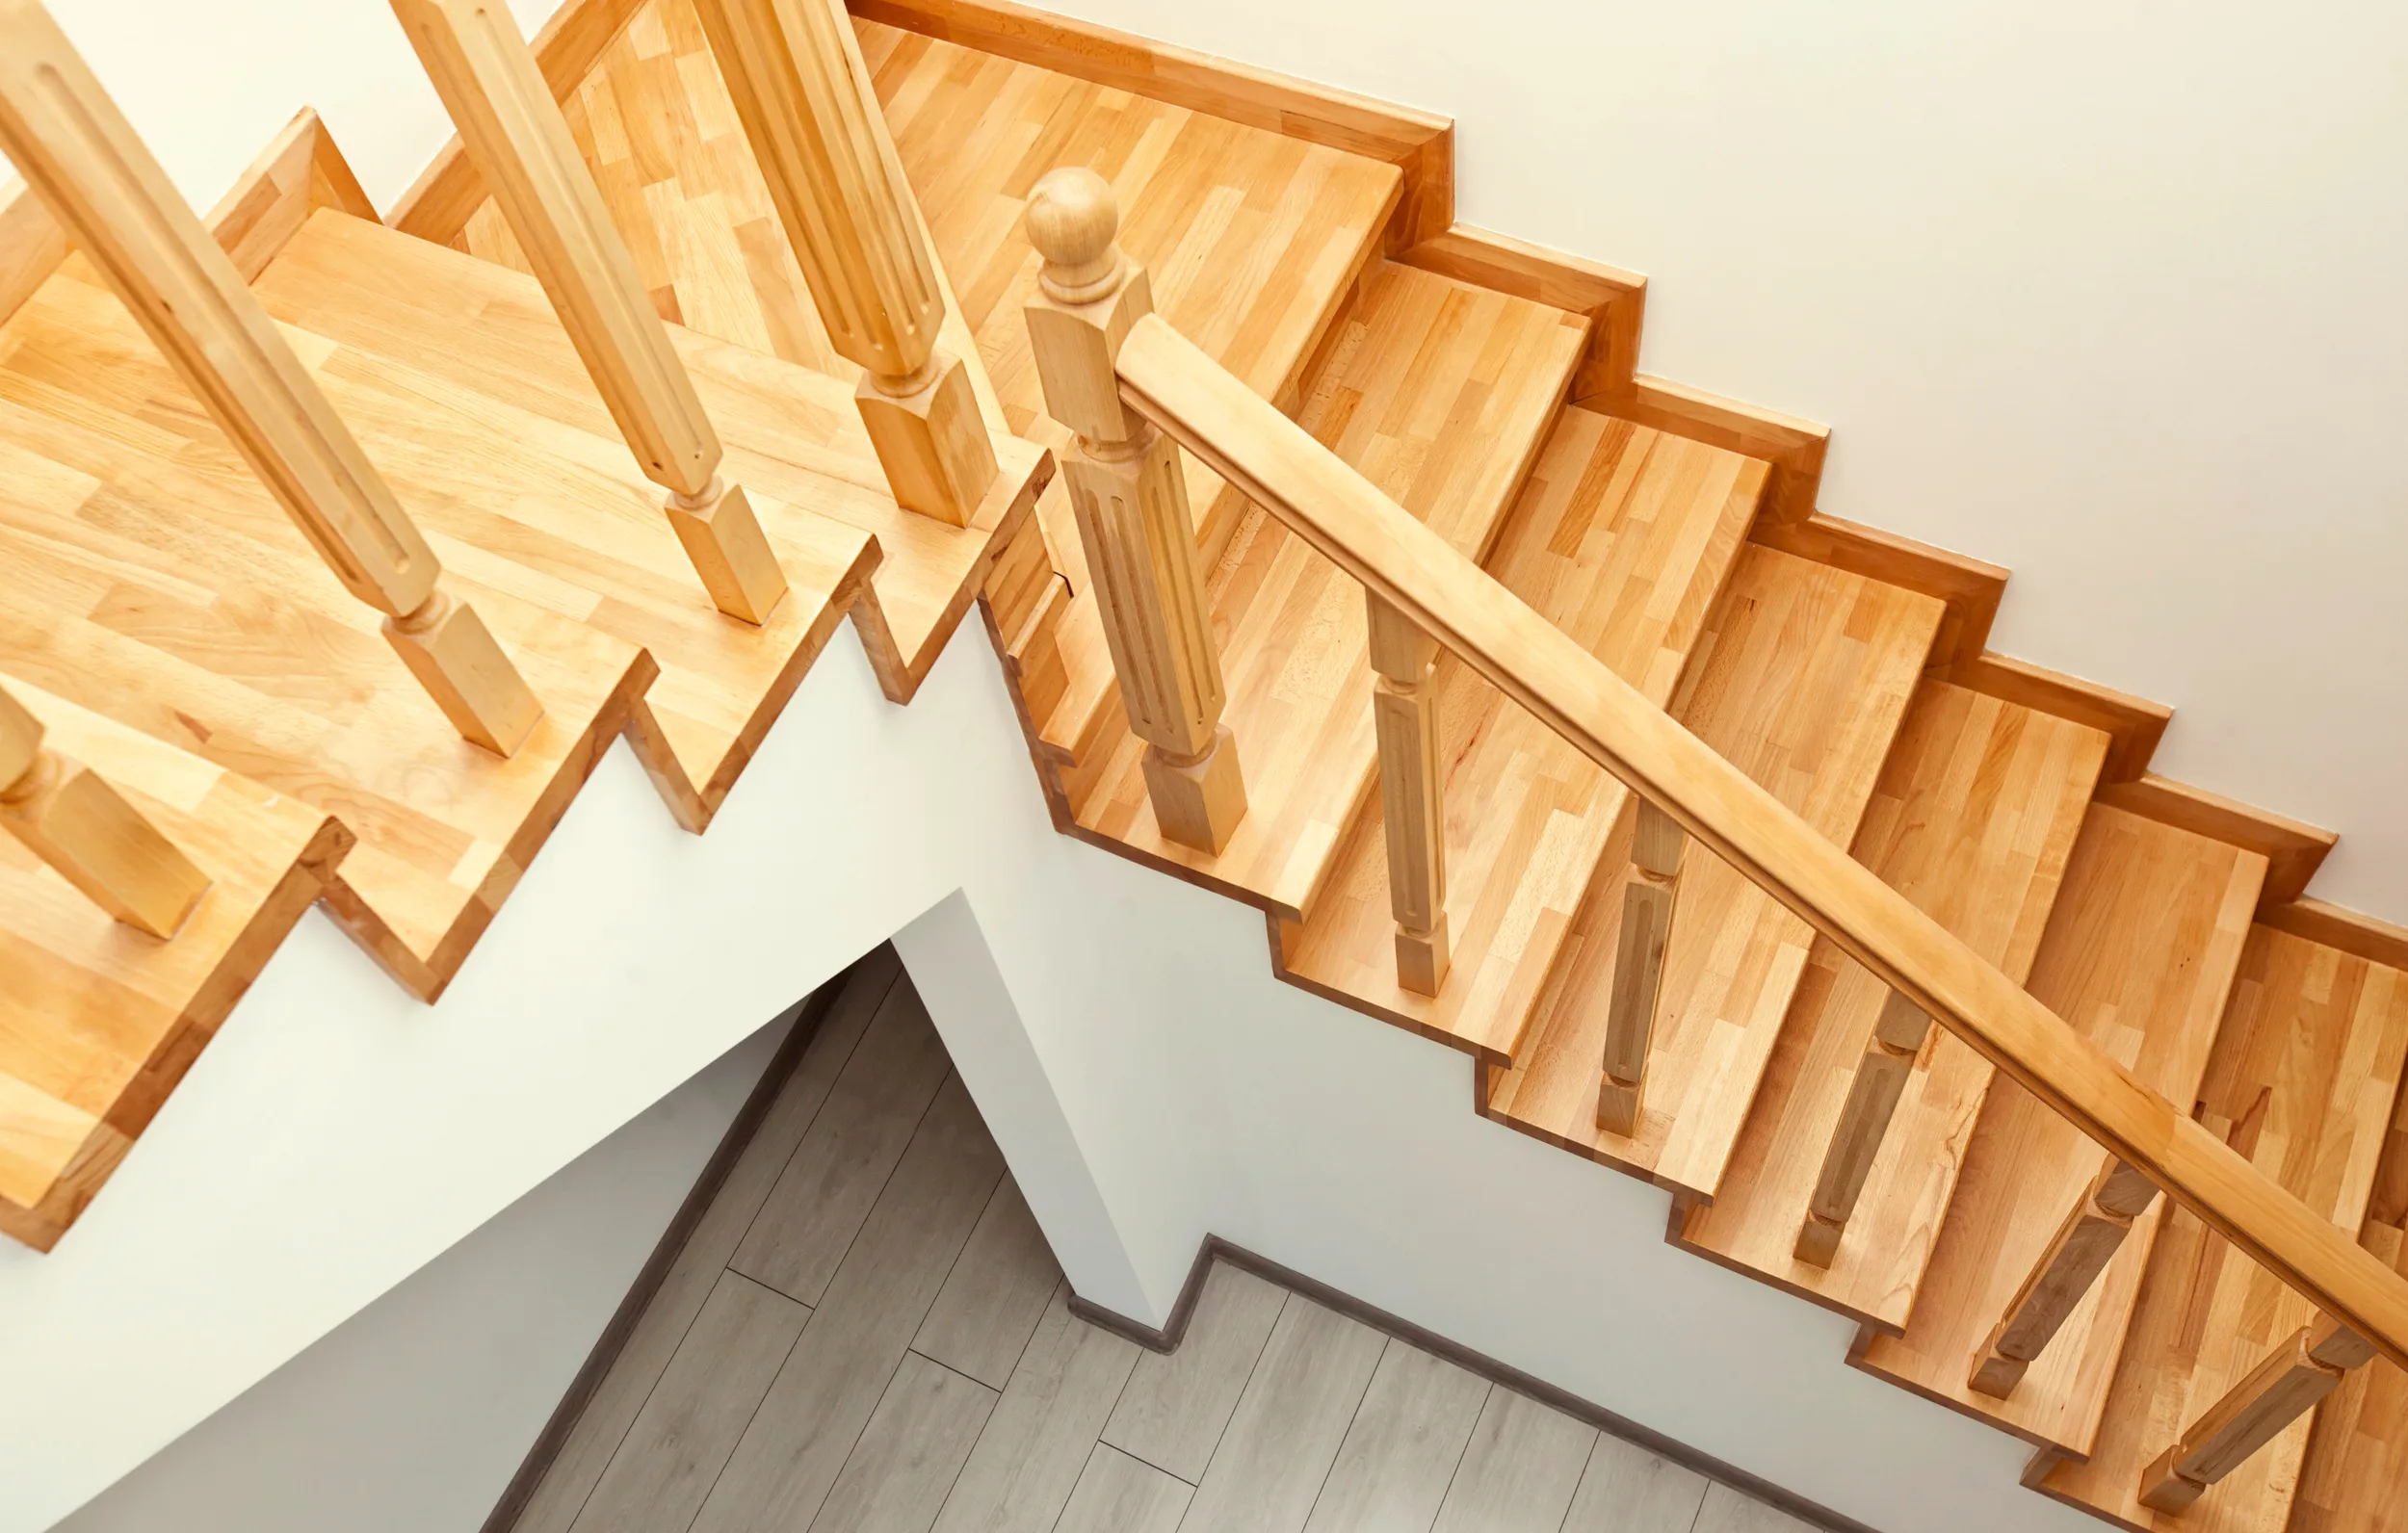
A standard wooden flight is an engineered assembly of interlocking elements. The horizontal walking plane is the tread, which terminates at its forward leading edge in a profiled protrusion known as the nosing (commonly a half-round or bullnose). Supporting each tread vertically is the riser. Treads and risers are mortised or dadoed into side support timbers known as stringers (either closed stringers that conceal the board profiles or open saw-tooth stringers that display tread cutouts).
Hovering above the steps is the balustrade: vertical posts called newels anchor structural tension, individual vertical pickets or balusters provide building-code clearance infill, and the sculpted horizontal grip serves as the handrail. When evaluating wood stairs & railings, recognize that every intersection where a flat plane meets a vertical column creates an internal corner that cannot accommodate spinning circular machinery.
Evaluating Wood Species, Wear Layers, and Structural Health
Diagnosing the underlying timber dictates your abrasive grits, scraping angles, and stain absorption. Most vintage and contemporary stairs feature select-grade northern red oak or white oak due to their high radial crush resistance. Historic homes often present Douglas fir, southern yellow pine, or old-growth birch, whereas custom architectural builds showcase hard maple, hickory, walnut, or dense South American hardwoods like Brazilian cherry (jatoba).
Inspect each tread for mechanical failure before surface work:
- Check for structural deflections by stepping firmly on the tread center; flexing indicates compromised stringer wedging beneath the flight.
- Locate squeaks, which stem from wood-on-wood friction where the back edge of a tread rubs against the bottom tongue of a riser, or where finish nails have loosened inside stringer notches.
- Examine the nosing thickness. If past owners aggressively sanded the stairs, thin nosings may crack under heel leverage, requiring replacement rather than refinishing.
- Inspect deep gouges and pet oxidation. Dark black urine salts that penetrate beyond 1/16 of an inch rarely sand out cleanly and may require individual tread replacement or targeted chemical bleaching using saturated oxalic acid crystals dissolved in hot water.
Essential Tooling and Safety Gear
Restoring vertical timber requires an arsenal of specialized surface-preparation and extraction tools.
- Random Orbital Sander (5-inch or 6-inch): Variable-speed multi-hole sanders with a soft-interface pad for curved profiles and a hard pad for flat tread fields.
- Detail and Corner Sanders: Triangular oscillating multi-tools or dedicated delta sanders capable of reaching deep 90-degree internal junctions where the tread meets the riser and stringer.
- Carbide-Tipped Hand Scrapers: Heavy-duty pull scrapers equipped with reversible, micro-ground solid tungsten carbide blades. These are indispensable for shaving old finishes out of corners without dishing the wood.
- Contour Scrapers and Shavehooks: Teardrop, pear, and convex profile scrapers designed to clean the underside curve of nosings and rounded handrail contours.
- Pneumatic or High-Torque Pin Nailers: For counter-sinking exposed fasteners and securing loose junctions with color-matched countersunk trim screws.
- HEPA Dust Extraction System: Sanding inside an enclosed vertical stairwell creates an immediate updraft of fine airborne dust. A certified Class-M or Class-H vacuum tethered directly to the sander ports is essential.
- Personal Protective Equipment (PPE): Half-mask respirators fitted with P100 particulate filters and organic vapor cartridges (vital when abrading vintage lead-based paints or applying solvent sealers), wraparound safety goggles, and heavy-duty cut-resistant gloves for scraper maintenance.
Preparation, Hardware Removal, and Mechanical Repairs
Thorough site preparation prevents cross-contamination across your home and eliminates structural faults before cosmetic finishes are applied.
Containment and Atmospheric Control
Stairwells behave like natural chimneys; air moves upward from lower levels, pulling microscopic wood dust and chemical fumes into upstairs bedrooms.
- Hang heavy 4-mil to 6-mil poly containment plastic across upper and lower hallway landings using spring-loaded telescoping poles.
- Create zipper doors to allow restricted transit.
- Seal cold-air return vents and furnace supply registers within the stair enclosure to prevent abrasive particulates from cycling through ductwork.
- Set up a negative-air exhaust fan inside an adjacent window, venting outwards to establish negative pressure that prevents dust from escaping into adjacent rooms.
Removing Carpeting, Tack Strips, and Fasteners
If your stairs were previously blanketed with carpet runners or full-width carpet, removal demands meticulous patience:
- Stripping the Textile: Cut the carpet into manageable 3-foot cross-sections using a hooked utility knife, pulling carefully upwards to avoid splintering the underlying wood grain.
- Pulling Tack Strips: Insert a wide, flat pry bar or specialized molding lifter beneath the tack strips fastened along the rear tread-riser interface. Pry gently against a scrap wood block to avoid denting the timber. Never rip them up sideways, which tears deep divots out of the tread face.
- Removing Staples and Nails: Older runner padding leaves hundreds of galvanized heavy-gauge staples embedded in treads and risers. Extract every fastener using compound-leverage staple pullers or end-cutting pliers. Any staple head left flush with the timber will instantly rip 40-grit sanding discs or break expensive carbide scraper blades.
Eliminating Creaks and Squeaks
Do not coat a noisy stair. Squeaks must be resolved mechanically while the raw wood is exposed. If you have clear access to the underside of the staircase (via a basement or utility closet), inspect the wooden wedges driven into the stringer mortises. Re-drive loose wedges, coating them with PVA carpenter glue, or screw triangular blocking along the joint where the tread meets the riser from behind using 2-inch structural wood screws.
If under-stair access is completely sealed:
- Drill 1/8-inch countersunk pilot holes diagonally through the front edge of the squeaking tread directly into the top of the underlying riser.
- Drive 2-inch or 2.5-inch hardened trim-head finish screws until the head sinks 1/8-inch below the wood surface.
- Alternatively, insert counter-sunk spiral finish nails in opposing pairs (toe-nailing) to create an interlocking mechanical hold.
- Fill the recessed holes with matching grain filler or timber plugs cut from identical raw stock using a plug-cutter bit aligned with the surrounding grain orientation.
Sanding and Scraping: Precision Stripping in Confined Angles
Sanding an intricate vertical structure is where true craftsmanship separates professional restorations from amateur attempts. Large drum sanders cannot safely maneuver over a 10-inch tread run with an overhead riser hanging mere inches away. The entire staircase must be restored through methodical zone abrasion.
The Power Sanding Sequence for Tread Fields
On wide tread flats, utilize a heavy-duty random orbital sander paired with an aggressive ceramic abrasive disc connected to active dust extraction.
- Initial Cut (40 to 60 Grit): Strip through yellowed surface varnishes, light paint splatters, and minor board dishing. Keep the sander flat on its pad; tilting the tool onto its edge digs crescent-shaped swirl gouges into the tread run that show through transparent stains.
- Intermediate Cut (80 Grit): Uniformly erase the abrasive cross-hatch scratch patterns left by the 40 or 60 grit. This pass begins closing the wood cells and reveals any residual dents.
- Refining Cut (100 to 120 Grit): The finishing abrasive stage. For floors receiving clear polyurethane, 120 grit provides the ideal tooth. For stairs scheduled for custom pigment staining, sanding to 120 or 150 grit ensures smooth, non-blotchy color penetration without closing the pores so tightly that the timber rejects the carrier vehicle.
Precision Hand Scraping for Corners and Bullnoses
Power sanders leave an un-abraded border approximately 1.5 to 2 inches wide along internal corners where treads meet risers, nosings, and side stringers. Attempting to force orbital discs into these edges burns sanding pads and rounds off crisp architectural margins.
This is where the carbide pull scraper proves essential:
- Draw the carbide blade toward your body under firm, downward downward pressure, aligning the pull with the long direction of the grain.
- Maintain a consistent blade angle of 15 to 20 degrees relative to vertical. Sharp carbide slices through old finish in thin, ribboned shavings, leaving a glass-smooth surface that matches the surrounding sanded field.
- Work systematically into the dead-end corner where tread, riser, and stringer intersect. Use a small, rigid triangular corner blade to peel old lacquer clean down to raw wood fibers.
- For the curved bullnose profile, wrap flexible silicon carbide abrasive sheets around a high-density contoured rubber sanding block. Stroke along the length of the bullnose from wall to open stringer; never sand across the nose laterally, which cuts deep cross-grain scratches across the visual focal point of the step.
Scraping vs. Chemical Strippers on Complex Railings
Balustrades, turned spindles, and profiled stringer moldings present compound radii and narrow turnings that defy flat abrasives. You must choose between manual dry profiling and chemical intervention:
- Manual Profiling: Best for simple square or chamfered modern spindles. Utilize profiled contour scrapers, followed by hand-sanding with high-flex abrasive sponge pads that conform to chamfered corners without blunting crisp millwork.
- Chemical Strippers: Crucial for multi-ringed turned colonial balusters or intricate scrollwork. Apply a thick layer of non-drip, solvent-based or solvent-free benzyl alcohol stripping gel using a natural bristle brush. Allow the gel to penetrate for 30 to 45 minutes until the old finish wrinkles.
- Pull the softened slurry away using coarse steel wool (for oil finishes) or bronze wool/abrasive synthetic pads (essential for oak, as standard steel wool fragments leave microscopic iron deposits that react with natural wood tannins to form permanent purple-black rust spots). Clean the chemical residue thoroughly with mineral spirits or denatured alcohol, then sand lightly with 120-grit paper once dry.
Staining, Blending, and Choosing the Right Finish Chemistry
Finishing stairs involves balancing aesthetic continuity with high structural durability and pedestrian safety. Treads receive violent, localized sheer stresses from pivoting feet that horizontal living rooms rarely encounter.
Pre-Stain Conditioning and Water Popping
Woods with dense, uneven cellular structures (such as Douglas fir, maple, birch, or pine) absorb liquid pigments erratically. Applying a direct oil stain can produce dark, mottled patches:
- Pre-Stain Conditioners: Apply a high-quality penetrating conditioner to softwoods to stabilize capillary absorption across earlywood and latewood rings prior to staining.
- Water Popping (Oak and Dense Hardwoods): To achieve a deep, uniform stain on white or red oak stairs without pigment blotching, mist the clean, bare wood lightly with distilled water via a pump sprayer, then wipe with a lint-free microfiber rag. As the water evaporates over 60 to 90 minutes, the compressed wood grain stands upright, allowing rich, consistent pigment saturation. Do not touch or scuff water-popped wood prior to stain application, as rubbing flattens the raised pores unevenly.
Staining Techniques: Treads vs. Risers
If your design scheme calls for contrasting components—such as walnut-stained treads paired with clean painted-white risers—timing and tape hygiene are critical. Always stain and seal the treads before masking them off to address risers, or complete all raw wood coloration before painting surrounding trim.
Apply penetrating oil-based or micronized solvent stains using a lint-free rag or staining pad, working parallel with the grain. Allow the stain to dwell according to manufacturer specifications (typically 3 to 5 minutes), then immediately wipe away all excess puddle with clean, dry cotton cloths. Leaving unabsorbed stain sitting on top of the timber creates a weak, muddy film that causes catastrophic adhesion failure when the protective clear coat is applied over it. Allow stains to dry fully for at least 24 hours under good airflow before coating.
Topcoat Chemistries: Durability vs. Slip Resistance
Choosing the correct protective film is paramount. A high-gloss, slick finish on a narrow tread run creates an immediate slipping hazard for family members and pets.
- Two-Component (2K) Waterborne Polyurethane (e.g., Bona Traffic HD, Loba 2K Supra): The premier choice for residential stair renovations. Two-component systems rely on an active isocyanate chemical hardener added to the polyurethane resin, creating an extraordinarily dense, scratch-resistant cross-linked film. They cure rapidly, emit very low VOC odors, do not amber over time, and offer outstanding non-slip surface friction in satin and matte sheens.
- Oil-Modified Polyurethane: The traditional alternative. It delivers a rich, amber glow that suits historic properties and boasts great flow-out properties during brush application. However, oil systems require 12 to 24 hours of drying time per coat, produce strong, lingering fumes, and require an extended 30-day window to achieve maximum hardness.
- Hardwax Oils (e.g., Osmo Polyx, Rubio Monocoat): Penetrating vegetable oils bonded with micro-waxes. They form a breathable, non-film-building matte barrier that highlights the natural texture of raw wood. While they provide great slip resistance and can be spot-repaired without stripping the entire flight, they provide thinner mechanical protection against aggressive high-heel impacts and require periodic maintenance re-oiling.
To minimize fall hazards, select satin, semi-matte, or extra-matte finishes. High-gloss coatings act like ice sheets under stocking feet and accentuate every minor dent or wear trace under descending overhead stair lighting. For maximum safety, you can blend certified micronized anti-slip texturizing additives into your final topcoat layer.
Coating Execution: The Alternating Step Strategy and Step-by-Step Schedule
A primary challenge of stair refinishing is household transit. If your flight is the sole link between main living spaces and upper bedrooms, closing off the staircase completely for several days is often impossible. Employing a strategic alternating schedule preserves access throughout the restoration window.
The “Every-Other-Step” Staggered Method
By dividing your staircase into two separate operational groups, you keep the staircase functional for urgent, light travel throughout the project:
Phase Allocation (Staggered Strategy)
[ Step 1: Active Phase A ] ──> Coated Days 1-2 (Restricted)
[ Step 2: Active Phase B ] ──> Unfinished Walking Step
[ Step 3: Active Phase A ] ──> Coated Days 1-2 (Restricted)
[ Step 4: Active Phase B ] ──> Unfinished Walking Step
[ Step 5: Active Phase A ] ──> Coated Days 1-2 (Restricted)
Mark the designated walking steps clearly on your lower stringer using bright painter tape so occupants know precisely where to place their feet. Complete all preliminary coarse and medium sanding across the entire staircase all at once to minimize dust spread. Then, confine fine-grit sanding, staining, and finish coating exclusively to Phase A (the odd-numbered steps).
Once Phase A has cured sufficiently to handle sock-only foot strikes (typically 24 hours for modern 2K waterborne finishes), switch your tape markers. Occupants now walk strictly on the cured Phase A steps while you prep, stain, and coat Phase B (the even-numbered steps). While this approach doubles the total project duration, it eliminates the need to relocate your family to a hotel for the week.
The Master Step-by-Step Coating Sequence
When you are ready to spread your sealers and topcoats, follow this methodical daily procedure:
- HEPA Vacuum and Microfiber Tack: Vacuum every crevice, stringer ledge, and riser face using a soft-bristle brush attachment. Wipe all wood surfaces down with a microfiber mop dampened slightly with water (for waterborne systems) or pure mineral spirits (for oil systems) to capture micro-lint.
- Apply Sealer / First Coat: Begin at the highest step and work your way down the flight toward the ground landing. This orientation ensures you never trap yourself on the upper floor or hover over fresh, wet finishes.
- Application Technique: Utilize a 3-inch high-density angled brush or a 4-inch shed-free microfiber roller (1/4-inch nap). Paint the vertical riser first from top to bottom. Next, coat the tread surface, pulling brush strokes smoothly from the stringer walls inward across the long grain, smoothing out any lap lines. Finally, coat the bullnose profile and its lower shadow cove with an uninterrupted horizontal sweep.
- Intermediate Abrasion (De-nibbing): Allow the initial seal coat to dry according to technical specifications (2 to 4 hours for waterborne systems; 16 hours for oil). The liquid application will raise the wood grain, creating a slightly gritty, rough texture known as grain raise. Lightly scuff every surface by hand using a fine 220-grit abrasive screen or maroon conditioning finishing pad. Scuffing smooths raised fibers and creates mechanical micro-scratches essential for subsequent coats to bond physically with the lower layer.
- Vacuum and Apply Topcoats: Clean away all white de-nibbing dust thoroughly. Apply the second coat of polyurethane. For stair treads receiving heavy wear, apply a total of three coats (one primer/sealer plus two heavy-traffic protective finish coats). Risers and balusters, which experience minimal physical friction, require only two protective coats.
Maintenance, Long-Term Protection, and When to Hire Local Specialists
Completing your stair refinishing represents a significant investment of time, physical labor, and material expense. Protecting that work during the critical 30-day post-finish cure window determines how gracefully the staircase ages over the coming decades.
Post-Finishing Care and Curing Dynamics
Understand the clear difference between when a finish is dry and when it has achieved full molecular cure:
- Dry to the Touch (2 to 4 Hours): Dust will no longer stick to the surface, but the underlying film remains soft and pliable. Do not step on the surface.
- Light Sock Traffic (24 to 48 Hours): You can walk lightly on the treads wearing clean, dry cotton socks. Do not wear shoes, and avoid bare feet; skin oils and sweat react chemically with curing polyurethanes, leaving permanent cloudy smudges.
- Pet Re-entry and Normal Traffic (7 Days): Domestic pets can re-enter the stairwell, provided their claws are trimmed and filed blunt. Light, soft-soled house slippers are permissible.
- Full Chemical Cure (14 to 30 Days): Two-component waterborne finishes reach full hardness within 7 to 14 days; traditional oil finishes take 30 full days. Avoid dragging heavy vacuum attachments across treads, and never lay runner rugs or protective tapes over the steps during this cure window. Trapping escaping solvents beneath impermeable rubber or carpet pads results in finish clouding and adhesion breakdown.
For regular cleaning throughout the life of your staircase, sweep or vacuum with a soft-bristled floor brush to extract gritty surface abrasives. When damp-mopping is required, use a pH-neutral cleaner designed exclusively for hardwood surfaces, misting it lightly onto a microfiber pad. Never use steam mops, saturating wet string mops, abrasive scouring pastes, or silicone-based furniture waxes on refinished timber.
DIY Realities vs. Professional Restoration
Refinishing a fine interior staircase represents one of the most physically demanding trim carpentry and finishing projects in the residential trades. Working on hands and knees inside an enclosed vertical stairwell, operating sharp carbide hand scrapers into hundreds of 90-degree corners, and maintaining clean wet edges across steps without introducing runs, brush marks, or dust debris tests any DIY enthusiast.
If your staircase features intricate handrail spirals (volutes), fragile turned spindle systems, extensive historic tread cupping, or deep subfloor settling issues, turning to vetted professionals is often the most cost-effective path. When vetting local stair contractors near me, look beyond basic hardwood floor installers:
- Inquire specifically about their experience in dedicated architectural stair joinery, tread replacement, and balustrade restoration.
- Confirm that they utilize specialized negative-air HEPA containment equipment designed for stairwell corridors.
- Ask to see portfolio documentation of custom stain matching, particularly cases where red oak treads needed to blend seamlessly into adjacent pre-finished white oak or luxury vinyl plank flooring.
- Request detailed material specifications detailing the specific chemical topcoat brands and sheens they plan to apply.
A dedicated specialist transforms worn, creaking steps into a stunning, safe, and durable vertical centerpiece that elevates your entire interior architecture for decades to come.
